@akospasztor/homebridge-create-ceiling-fan - v1.4.2
![]()
Homebridge Create Ceiling Fan Plugin
This plugin allows integrating the CREATE ceiling fans into HomeKit via Homebridge.
Although there are several Homebridge plugins that provide similar functionality, this plugin aims to stand out via providing a smooth, user-friendly fan speed control mechanism in the HomeKit UI and a robust device communication mechanism with a mutex. It also reflects and updates the changes via the physical remote automatically in HomeKit.
Tested Devices:
- CREATE Wind Calm (with light, WiFi + Remote controller)
Contents
Features
- [x] Support for devices with and without light
- [x] User-friendly fan speed control via the HomeKit UI slider
- [x] Local communication, does not require connection to the Tuya IoT cloud platform [^1]
- [x] Robust communication implementation
- [x] Changes via physical remote controller and other applications are automatically reflected in HomeKit
- [ ] Add support for devices with dimmable light
- [ ] Add support for toggling the beep sound feedback
Requirements
Getting the local key of the device
The TinyTuya project has great step-by-step instructions how to obtain the local key of a device.
In order to obtain the local key of a device, it needs to be paired with the Smart Life App or Tuya Smart App. If the device has already been paired with the CREATE app, you can reset the device with its remote the following way:
- Power off the fan (i.e. cut the power by turning off its wall switch or with the associated breaker depending on the installation).
- Power on the device.
- Press and hold the
1hbutton on the remote until you hear a beep. - Now the device is ready to be paired again.
Note from the CREATE app: if you do not hear a beep after 10 seconds, press and
hold the buttons 1h and 2h simultaneously at the same time.
Fixed IP address
It's strongly recommended to set up a DHCP IP reservation for the device. This way the fan will always have a fixed IP address assigned. The TuyAPI library used for device communication works reliably when the IP address of the device is used alongside with the device ID.
Note: the device used for the initial plugin development is a CREATE Wind Calm purchased in 2025, and it refuses most connection attempts via the TuyAPI when the IP address is not supplied (connection requests with ID only).
Usage
Installation
Install the plugin either via the Homebridge UI by going to the Plugins tab and searching for the plugin.
Alternatively, the plugin can be installed directly from the command line interface:
hb-service add @akospasztor/homebridge-create-ceiling-fan
Configuration
By default, one HomeKit tile is exposed in the Home application for a device. You can group or ungroup the different accessories of the fan (e.g. the fan slider and the light switch) in the group section of the accessory settings within the Home app.
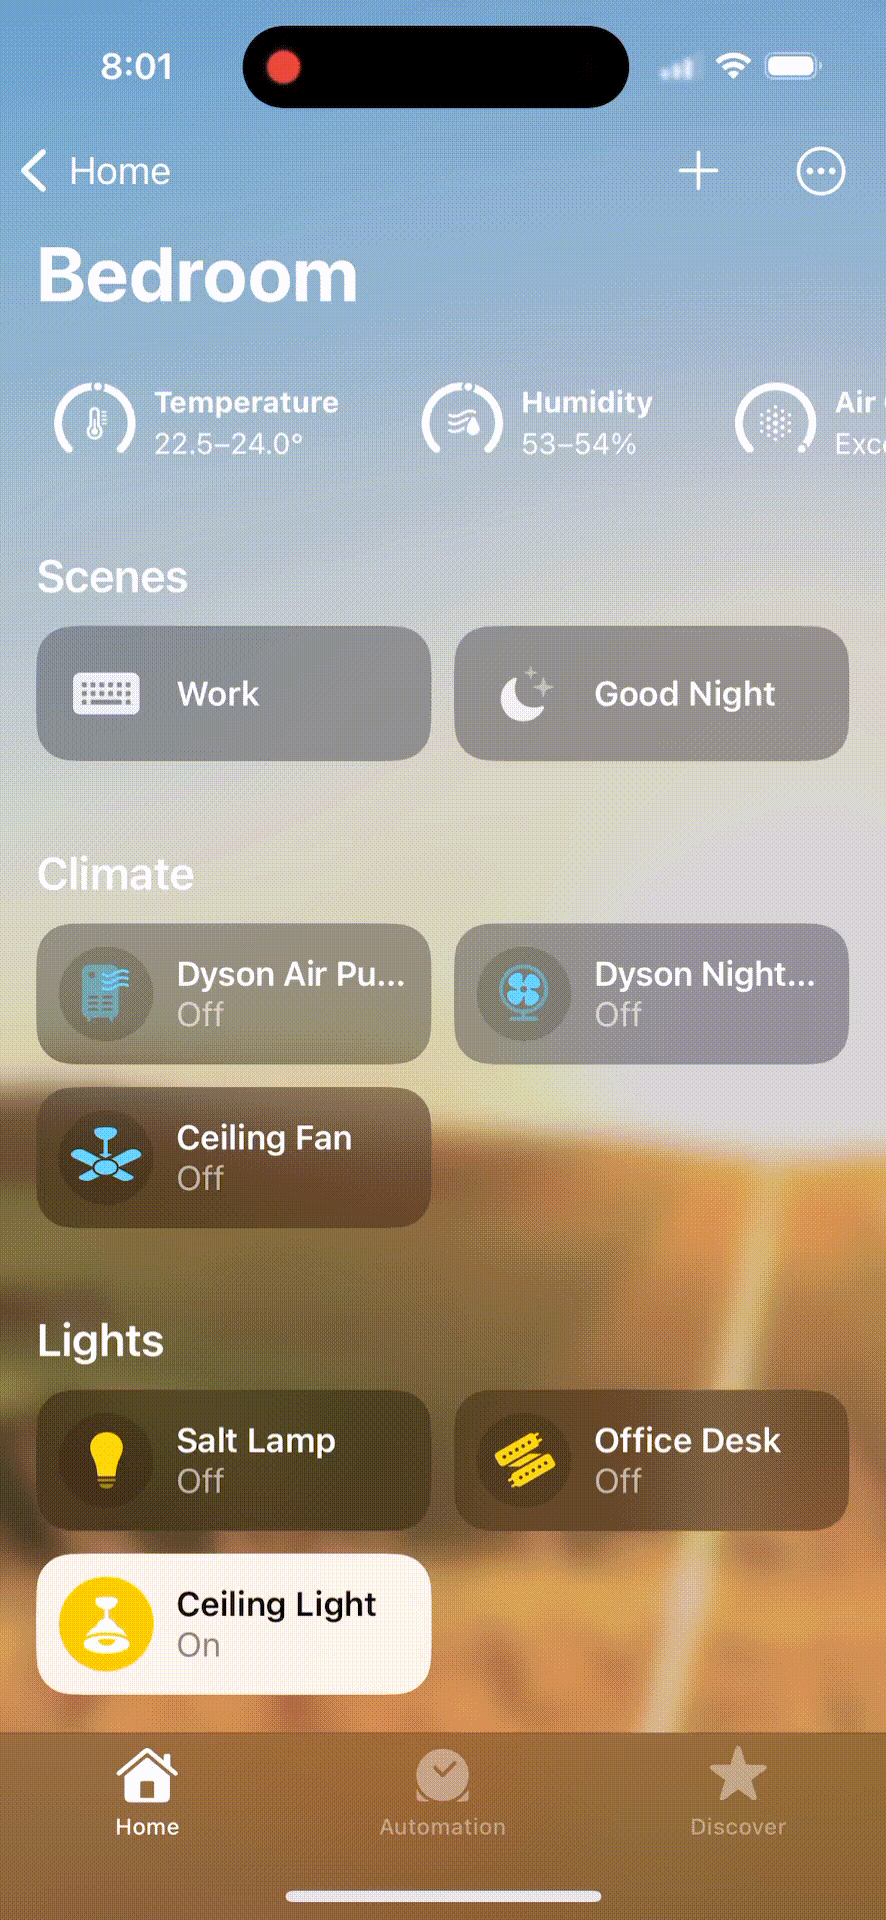
Setting the rotation speed via the HomeKit slider
The following UI slider inputs represent the different speed settings of the fan. The fan is turned off when the slider is set to zero.
| Device fan speed | Corresponding UI slider value | User input range on the slider |
|---|---|---|
| 1 | 10 | 1 - 19 |
| 2 | 30 | 20 - 39 |
| 3 | 50 | 40 - 59 |
| 4 | 70 | 60 - 79 |
| 5 | 90 | 80 - 94 |
| 6 | 100 | 95 - 100 |
Whenever the user operates the slider, a so-called debouncing timer is set. When the timer expires (without the user changing the slider), the current state of the slider value is converted to the nearest value that corresponds to the device fan speed. The purpose of the debounce timer is to provide great user experience: without the debounce timer, the slider would jump around immediately, without waiting for the user to finish adjusting the speed.
Demo:
Setting the rotation direction via the HomeKit button
The Home app shows a small icon below the fan speed slider representing the rotation direction of the fan. The implementation follows the general convention that the direction is represented from the perspective when the user looks at the fan; i.e. standing below and looking up in the case of a ceiling fan.
The counter-clockwise icon in the Home shows that the fan rotates counter-clockwise when looked at directly from below. In this mode the fan blows air downwards, called the "summer" mode. Changing the direction to clockwise rotation makes the fan rotate in the opposite direction, causing the air being pushed upwards. This mode is called the "winter" mode.
Known issues
Color temperature
It appears that the color temperature of the CREATE Wind Calm ceiling fan (purchased in 2025) cannot be set properly. Regardless of using the physical remote, the mobile application or manually sending the commands via TinyTuya, the device simply cycles through the 3 different color temperatures and it does not remember it's previously set state. This issue has also been observed here: https://github.com/velzend/create_ikohs_fan
Therefore, this plugin does not support setting the color temperature until this has been fixed by CREATE.
Acknowledgements
Developer documentation
https://akospasztor.github.io/homebridge-create-ceiling-fan/
[^1]: Please note that the Tuya IoT cloud platform registration is still needed to obtain the local keys for the device. After obtaining the keys, the device can be blocked from accessing the internet.